


If you didn’t already know, HubSpot is a popular customer relationship management (CRM) software that is used by many businesses to manage their sales, marketing, and customer service activities. It offers a range of tools and features for managing customer interactions, tracking leads and deals, automating sales and marketing processes, and generating reports and analytics.
Within HubSpot, you can define different levels of access for each user based on their role and responsibilities within your organization. This enables you to control what each user can see and do in the HubSpot platform.
As a HubSpot administrator, you may need to edit user permissions from time to time. This may be necessary to give new team members access to certain areas of the platform or to restrict access for certain users. Whatever the reason, editing user permissions is a straightforward process in HubSpot.
Permission Levels
There are several levels of user permissions in HubSpot, including:
- Super admin: Has access to all areas of HubSpot and can manage other users’ permissions.
- Admin: Has access to most areas of HubSpot and can manage other users’ permissions, but cannot access certain sensitive areas.
- Team member: Has access to specific areas of HubSpot based on their role within your organization, such as marketing, sales, or service.
- Read-only user: Can view data and reports in HubSpot, but cannot make changes or updates.
You can customize user permissions further by creating custom roles and assigning specific permissions to each role. This allows you to create a more granular level of access control for each user in HubSpot.
How to edit user permissions
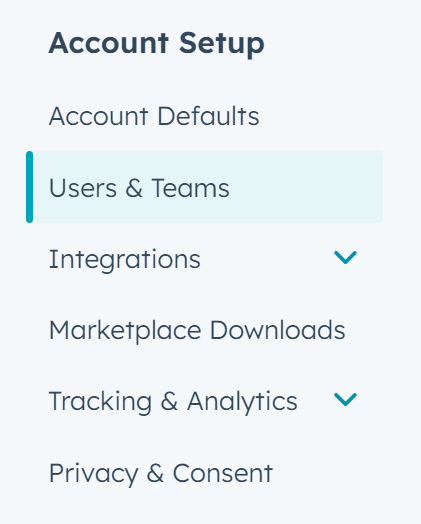
Step 1: Navigate to the “Users & Teams” page
You first need to navigate to the “Users & Teams” page in HubSpot. To do this, click on the gear icon in the top right corner of the screen and select “Users & Teams” from the Account Setup menu.
Step 2: Select the user you want to edit
Once you’re on the “Users & Teams” page, you’ll see a list of all the users in your HubSpot account. Find the user you want to edit and click on their name to open their user profile.

Step 3: Edit the user’s permissions
In the user profile, you’ll see a section called “Permissions”. This is where you can edit the user’s access to different areas of HubSpot.
To edit the user’s permissions, click on the “Edit” button next to their current permission level. This will open a dropdown menu where you can select a new permission level for the user.
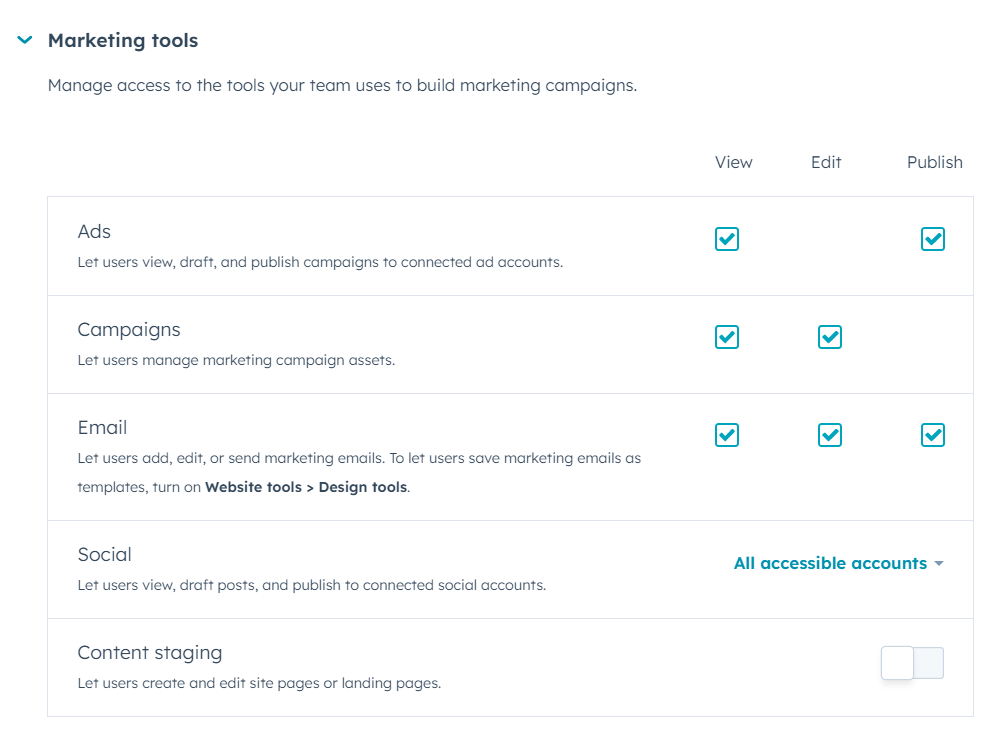
You can choose from several preset permission levels, such as “Super Admin”, “Admin”, “Team Member”, or “Read-Only User”. Alternatively, you can create a custom permission level by clicking on the “Create custom permission set” link.
If you choose to create a custom permission set, you can select specific permissions for each area of HubSpot, such as contacts, deals, marketing, or service. You can also choose whether to give the user access to specific features, such as workflows, templates, or reports.
Step 4: Save your changes
Once you’ve edited the user’s permissions, click on the “Save” button to apply your changes. The user will now have access to the areas of HubSpot that you’ve given them permission to view and use.
Get HubSpot User Permissions
To wrap things up, editing user permissions in HubSpot is a simple process that can be done in just a few steps. By customizing user permissions, you can ensure that each team member has the appropriate level of access to the HubSpot features and data they need to do their job effectively.
We’re a HubSpot Platinum Partner that works with clients in their portals every day. If you’d like to learn more about getting on HubSpot with MINDSCAPE, you can click below for more information.
