Managing your HubSpot account effectively often means having the right people with the right access. If you’re looking to add a new super admin user to your HubSpot account, you’re in the right place. This short guide will walk you through the process step-by-step, ensuring a smooth and hassle-free experience.
Step 1: Log In with Super Admin Permissions
First things first, log in to your HubSpot account. Remember, you need to have Super Admin permissions to add another super admin.
Step 2: Navigate to Settings
Once logged in, look towards the top right-hand corner of your HubSpot screen. Here, you’ll find the ‘Settings’ icon, which looks like a gear. Click on this to proceed.

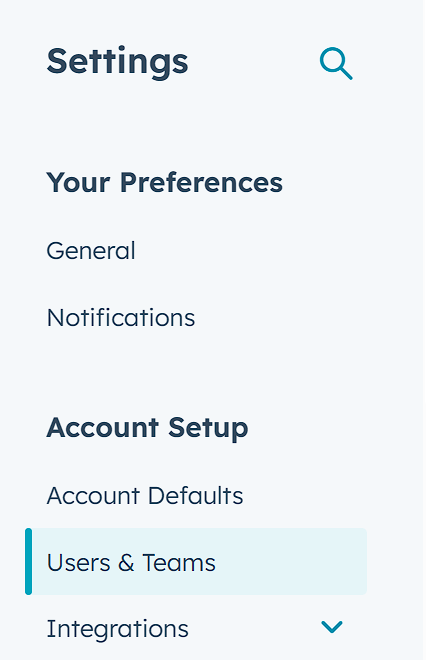
Step 3: Access Users & Teams
In the Settings menu, you’ll see various options on the left-hand navigation. Look for ‘Users & Teams’ and select it.

Step 4: Create a New User
Now, you’ll be presented with the option to ‘Create User’. Click on this to start the process of adding a new super admin.

Step 5: Enter the User’s Email Address
Here, you’ll need to enter the email address of the user you wish to add. HINT: Copy-and-paste from your email client to avoid any typos! Then click the “NEXT” button in the lower right corner.

Step 6: Assign Super Admin Role
After entering the email address, click on the big tile that says ‘Make super admin’. (Yeah, they’ve made this A LOT easier.)

Step 7: Send the Invitation
Click the ‘Next’ button to proceed. You’ll then have the opportunity to review your choices. Once you’re ready, click ‘Send’ to invite your new Super Admin user to your HubSpot portal.

Congratulations 🎉
You’re all done! You’ve successfully added a new super admin user to your HubSpot account. This new user will now have full access to manage and make changes within your HubSpot portal, helping you to streamline your operations and collaborate more effectively.
Remember, with great power comes great responsibility. Ensure that your super admins understand their role and the access level they have been granted. Happy HubSpotting!


